Showing posts with label scrap. Show all posts

Wednesday, July 29, 2015

7 hours

Wonder what you can accomplish in seven hours on a longarm? 


This is what I managed to finish on my second rental. TWO quilts! 

The tumbler is just a small one, maybe between a baby size and a lap size, but the other one will fit a double bed. No small feat for a beginner longarm user. 


I used the same pantograph pattern on both. 


This top was completed about five or six years ago, and it has been patiently waiting for the day it would become a quilt. There are many more where that came from, with the same dream. 

Friday, July 24, 2015

Pattern testing

Someone had written a pattern for a table runner and put a call out for testers. I was one of the lucky ones selected. I received the pattern on a Thursday, and it was to be finished by Monday. I had suggestions right off the hop, just from reading the pattern. I emailed questions, and offered my opinions, even before I'd cut anything or sewn a single stitch. 


Friday I made the top out of fabric that I already had on hand, just bits and scraps. I must admit, the concept of the pattern was wonderful, even if the pattern itself needed a bit of tweaking (in my opinion). And I really like how mine turned out. 

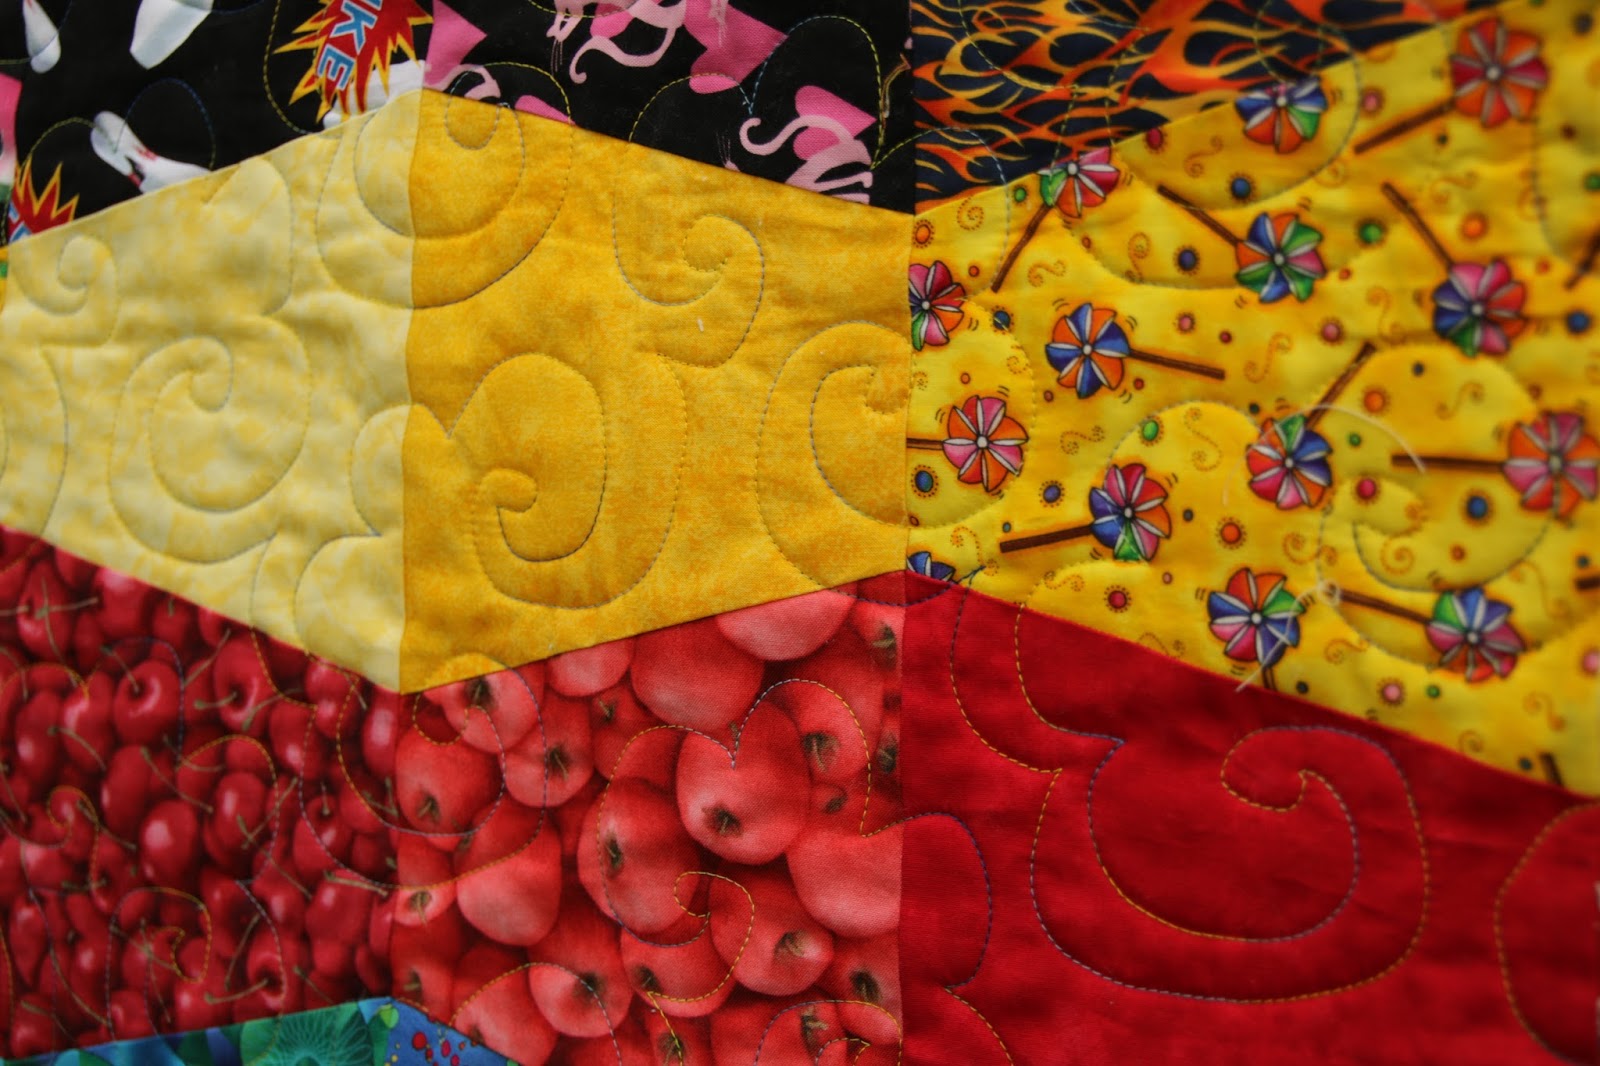
Then it was on to finishing. I tried to just stitch in the ditch, but I didn't like it. It was too plain. I wanted to play with some stitching. So I ripped out my ditch stitching, and watched some free motion videos. 


Pebbles! Better than I could have hoped for! But I had no idea the amount of time and thread this design would use up... I'm better educated now. 


Quilted, bound, and pictures taken. I edited the pattern in areas that I thought needed clarification, or found were not necessary, or some areas were just too "wordy" and submitted it all by the deadline. 

I enjoyed being a pattern tester. I would like to do another, if the opportunity arises.

Friday, March 13, 2015

Using up the Scraps

A while back, I bought a book called Sunday Morning Quilts, which is a great resource for using up fabric scraps. The article that intrigued me the most was re-making fabric using a single color of scraps. 


I pulled out my scrap drawer and started sorting and managed to put together some new pieces of fabric. These blocks are each sewn together using various sized strips. But I didn't love them, and couldn't figure out how to arrange them in an eye pleasing manner, so I tucked them into a box in the closet.

Recently, I discovered them again, and pulled them out and decided to use them. I have always been attracted to traditional blocks, and when I saw a video tutorial for a quick and easy churn dash, I knew I had found my pattern!


Each block uses up some of the original "made" fabric, so it's fun, and colorful, and scrappy!


This is the perfect mix of color and solid background. It tones down the busyness but still leaves each block bright and happy.


I even took some of my smallest scraps that couldn't be sewn in strips, ironed them onto fusible interfacing, and sewed around the edges of each piece. Then I cut it up and made a block out of it. (I think this one is actually my favorite)


Lots of scraps mean lots of blocks, so this will be an ongoing project, one that will be there in the background to give me a break from other projects I'm working on.

Is it just me, or does it seem like quilters always have multiple projects on the go at the same time?

Saturday, February 7, 2015

Hip to be square

Hip to be Square challenge complete!


Twenty four squares wide by thirty two squares long, each cut at 2.5 inches. Nice lap size throw. I may even try my hand at free motion quilting this one.

In other news....


This puff quilt has all the pillows sewn and stuffed, and I've begun the task of tying on a backing. 

And I've started working on some orange peel blocks. Stay tuned for details to come on that one. 


Tuesday, January 20, 2015

Scrap challenge

Hip to Be Square. That is the name of the challenge that I am working on. The basic rules are: cut scrap fabric into 2.5" squares and sew them into blocks (size of block is my choice), and then piece the blocks into a top that is crib size or larger. Sashing or no sashing, my choice. On point if I want. Color coordinated, or scrappy. Again, my choice. Have the top together by February 6. That's it.


I opted for scrappy, and I chose to go eight squares by eight squares. I already had lots of 2.5" squares cut out, from my previous efforts to "tame my scraps", so putting the first few blocks together was a breeze. It was totally scrappy and random, until (gasp!)


I saw two of the same pieces of fabric close together in one of the blocks... (breathe, don't fix it, it'll be ok...) Change of strategy. Pick out all the pieces needed before sewing them into the block.

At this point, I was finding it difficult to locate enough different fabrics out of what I had cut up (8x8=64 per block), so I raided my charm pack stash and started cutting up some more.


I found that the more blocks I added to the layout, the more pleasing it was to my eye. Maybe because the camera is farther away, so the individual pieces are less distinct, or maybe because I've added more fabrics that are less "novelty" or "juvenile" or "I spy". 

I'm especially enjoying the process of putting together these blocks now. 

  • sort out 64 squares
  • randomly pick up two squares to sew together, and then chain piece all 32 pairs
  • chain piece pairs of pairs
  • put pairs of fours together
  • take it to the iron, and press them all one direction
  • take back to sewing machine, and join rows, making the seams nest together
 Random (mostly).

It looks old fashioned to me now, something someone's grandmother would have made, back in the day. But it's not big enough yet, so I have some more work to do (she says while tapping her watch).

Wednesday, January 7, 2015

I Spy and Mardi Gras

A year and a half after it began, the I Spy quilt is finished. No room for a decent photo shoot, and the weather was too blustery to go outside, so a simple picture was taken.


Then, it was packaged up and shipped out, due to arrive tomorrow to the recipient (squeal!). I think I am more excited to be sending it than she will be in getting it. 


I think this quilt is one of my top five finishes, and I especially enjoyed all the evenings doing the hand quilting. I like to be busy doing something with my hands when I'm sitting on the couch watching TV, and this gave me a project to do.


I also managed to finish up this scrappy quilt top today, made completely from scraps for the blocks, and yardage from my stash for the setting triangles.


There are eighteen of these twelve inch blocks, pieced with half square triangles, cut with my Accuquilt Go. Some of the fabrics shown are leftovers from other quilts, and some were cut from fat quarters. This was a "use whatever I have" project.


I set the blocks on point and used this fun Mardi Gras fabric for the setting triangles. This fabric has been in my stash for many years, as I bought it to do a stack n whack quilt, then lost interest in making it after doing four other stack n whacks in a row. After that, it was just too pretty to cut up, until now. The colors suit this scrappy quilt.


Monday, December 15, 2014

Table runner and placemats

Using up scraps seems to just make more scraps... First there was a quilt (made by someone else), and the leftover fabric was given to me to "make some pillow covers" to go with it. 


(You may remember these from earlier this year.)

So, now what else to do with the bits of fabric that are still leftover? Well, I used my accuquilt and cut up as much as I could into chisels, as that was a die I had that hadn't been used yet. I'm sure in my head it was going to be a quilt, but there weren't enough for that, it turns out. 

Pinterest to the rescue. Found this pattern and decided I could do that! (with an additional purchase of border fabric).


Ta Da! A table runner! ... But it didn't use very many of my chisels... And there were so many cut out... Now what else could I make? 

I tried various arrangements and came up with a new way to lay out two chisels with a triangle. 


This was my test piece. It's not pretty, but it was just random fabric that I had (and it doesn't matter if it's pretty if it's just a test). It seemed to work!

Let's try it with my actual fabric pieces that I would use together, I said to myself.


It's not fabulous, but it'll do for a placemat. So I made six of them.


Pretend you haven't noticed that they are just tops and still need to be sandwiched and quilted. It'll get done, eventually. 

However, there are still more scraps...

Thursday, December 11, 2014

Tree skirt

This was made with scraps and stash. I've been wanting a tree skirt for six years, and now I have one.


It was constructed using the ten degree wedge ruler. I simply cut 36 wedges, four each of nine different fabrics, sewed them together, and bound it all in a cute little red/white pinstripe. Easy project. I don't know why I waited so long.

Saturday, May 17, 2014

Receipts and a pillowcase


So, while I'm still on the quest to try and use up my fabric scraps and stash, I have found a way to also use up those pesky receipts I get everywhere.


I have been making paper foundation fabric strips.


 Then I take the strips and run them through my Accuquilt cutter and make signature blocks with them.


 By adding some white triangles, I am now in the process of making another scrap happy quilt top.


 And if I add another solid besides the white, it adds another dimension to it.


 Still a work in progress, so I don't know yet how it will look all together.


Another quick and easy project I found is the magic pillowcase. It uses up about a yard of fabric, so it's a great stash buster for larger pieces, and goes together in about an hour.


 I don't have a serger, so it was important to me that there were no exposed seams. I don't want it to fray. Definitely going to make more of these!


Monday, May 12, 2014

Stash busting tumblers and a runner

Have I mentioned how much I love my Accuquilt? 


This top only took me three hours to cut out with my tumbler die and throw together. Made with kids prints and scraps from other quilts. It was a great opportunity to use up bright happy pieces in my stash that I was in love with.


I had so much fun, I decided to make a second, more scrappy, tumbler top. I have a feeling this will be my 'go to' die shape now for larger pieces of leftovers and quick quilts. Maybe, I might even preplan one of these in some new and wonderful fabric line out there... Hmmm...


I also managed to construct this lovely runner made of five inch charm squares in a morning. And by construct, I mean sew squares together, put it together with backing and batting, and stitch in the ditch! It was a fast, easy pattern that I saw on youtube from Jenny Doan of Missouri Star Quilt Company. I just love watching her vidoes. She makes everything so easy.


Tuesday, April 1, 2014

Scrap quilting


You might remember from an earlier post that I used my Accuquilt Go to cut up the smallest pieces I had in my scrap drawer.  I randomly pieced them together into blocks, not caring what color they were or if they matched. I just sewed. Then I put the blocks up on the wall and had a look:


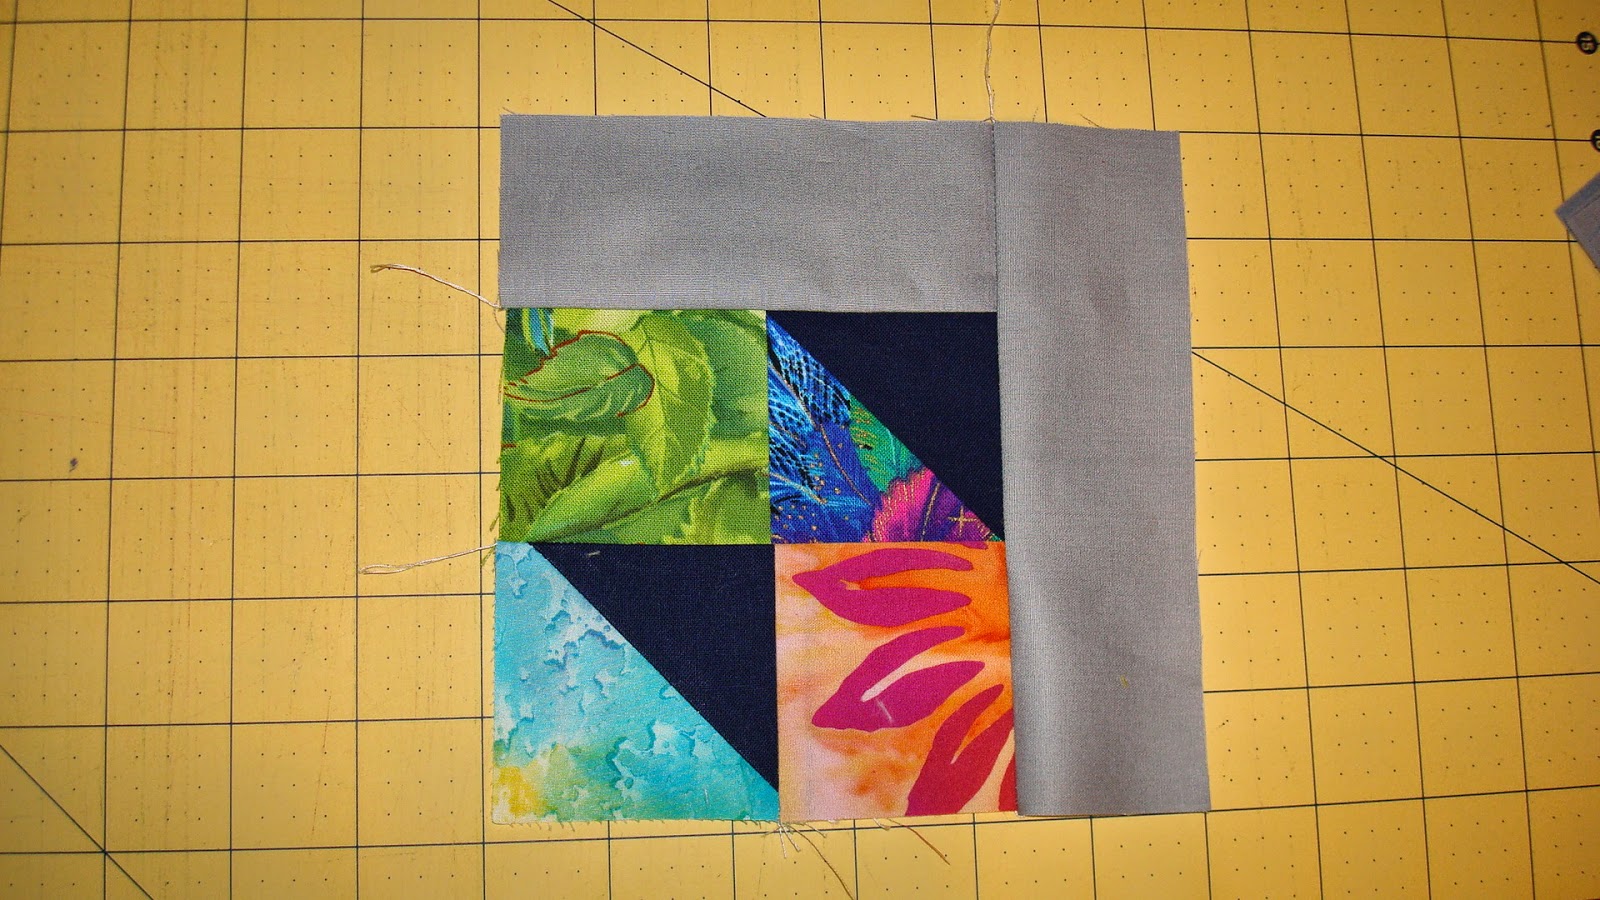
Wow! That's a little too busy to me and my eyes. I had some leftover gray from the last top I put together, so used it to sash the blocks on two sides. 


Then I arranged them in a way that I didn't have to match up seam lines, except for along rows, and went to town, putting them together.


Ahh... That's better. Still bright and busy, but not overwhelming. I opted to leave out the larger 4" blocks, for now, although I may still incorporate them into a border. I don't think this one is finished yet...

Saturday, January 18, 2014

Slabs

I've now completed 8 slabs. (slow and steady wins the race, right?)


Making these blocks was a bit intimidating at first, but the more I make, the easier it is, and I just go with the flow instead of trying to judge if that scrap should go here or there. I just grab the next piece in the pile and sew it on whichever side it fits with as little waste as possible.

I don't necessarily love each block, but I love the concept of using up even the smallest scraps, and this organizes it in a way I can work with (I don't do well with randomness). Each scrap has a memory of another project, so in essence, this will end up being a memory quilt for me. And that, I love.

Thursday, January 2, 2014

Taming the scraps


This is what I use to store my random quilting stuff. The bigger drawers have my scraps, sorted by size, smallest in the top drawer, largest in the bottom drawer. The smaller drawers hold random things like paper patterns, rotary blades, charm packs, fat quarter bundles, a quilt cut out but not assembled, fabric for a quilt yet to be cut out, thread, sewing machine feet, pins, safety pins... I keep my yardage, and fabric bought for specific projects, stored elsewhere.

I decided it was high time to do something with the scraps, as it's getting hard to slide the drawers, they are so full... Help came in two forms. 


The first was a Christmas present! Welcome to my home, Accuquilt Go! fabric cutter. I've been waiting for you for a long time.


The second was a book. I've had this since the summer, and have looked through it on several occasions, but am now actually putting it to use.

I started with the drawer that has my smallest pieces in it; leftovers from other projects, teeny bits and pieces, but not so small that I could justify throwing them away. I just reached in and pulled out whatever scrap was on top of the pile.


If the scrap was large enough to cover any of the die shapes on the fabric cutter, I cut it. If not, it went into a different pile to be sorted later by color. 


These are the new shapes I now have, just from that one drawer. Lots of half square triangles, and two sizes of squares. Two half square triangles fit together to make the smaller size square, and four of the smaller squares equals the size of the larger square, so they can all be mixed and matched into a scrap quilt.  Then it was on to sorting the smaller bits by color.

 
Here are a few of the new mounds, sorted by color. You can see purple, blue, red, cream/pale yellow, orange/bright yellow, and pink. There was also a pile each of brown, black, white, and green. Sorting these was difficult at times, as quite a bit of my fabric is brightly multi-colored, leftover from making I spy quilts.


Once sorted, it was on to the book instructions, and piecing the fabric scraps back together to make "slabs" of one color family.


These are my slabs of black, 12" square. I don't have a lot of plain black. I'm drawn to brights on blacks, and my scraps reflect that. It took almost all of my black scraps to make these two slabs. The rest goes back in the drawer for next time. What a great way to use up the leftovers.