Monday, December 15, 2014

Table runner and placemats

Using up scraps seems to just make more scraps... First there was a quilt (made by someone else), and the leftover fabric was given to me to "make some pillow covers" to go with it. 


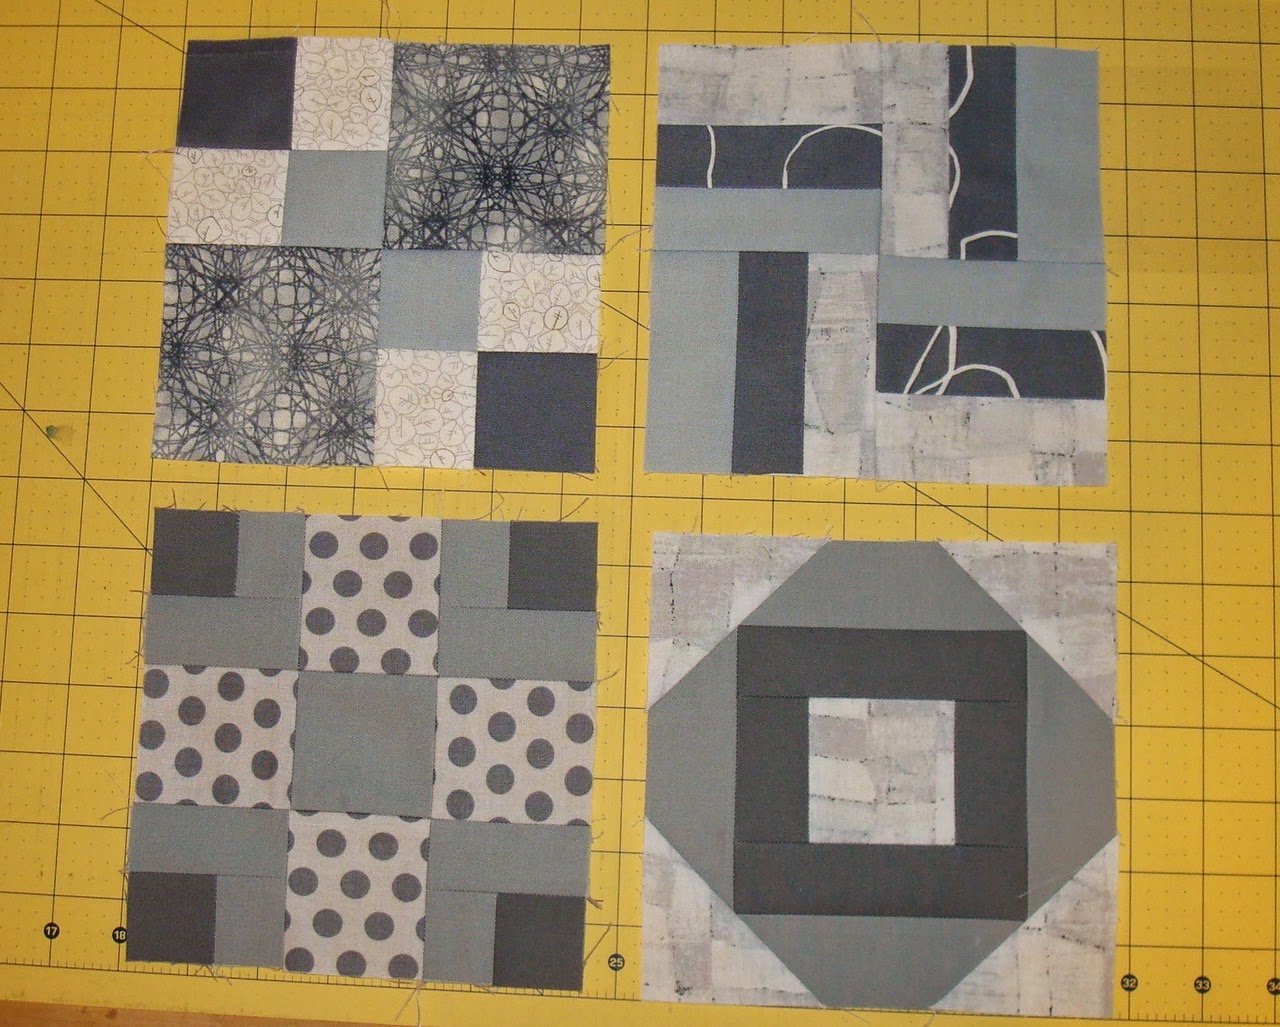
(You may remember these from earlier this year.)

So, now what else to do with the bits of fabric that are still leftover? Well, I used my accuquilt and cut up as much as I could into chisels, as that was a die I had that hadn't been used yet. I'm sure in my head it was going to be a quilt, but there weren't enough for that, it turns out. 

Pinterest to the rescue. Found this pattern and decided I could do that! (with an additional purchase of border fabric).


Ta Da! A table runner! ... But it didn't use very many of my chisels... And there were so many cut out... Now what else could I make? 

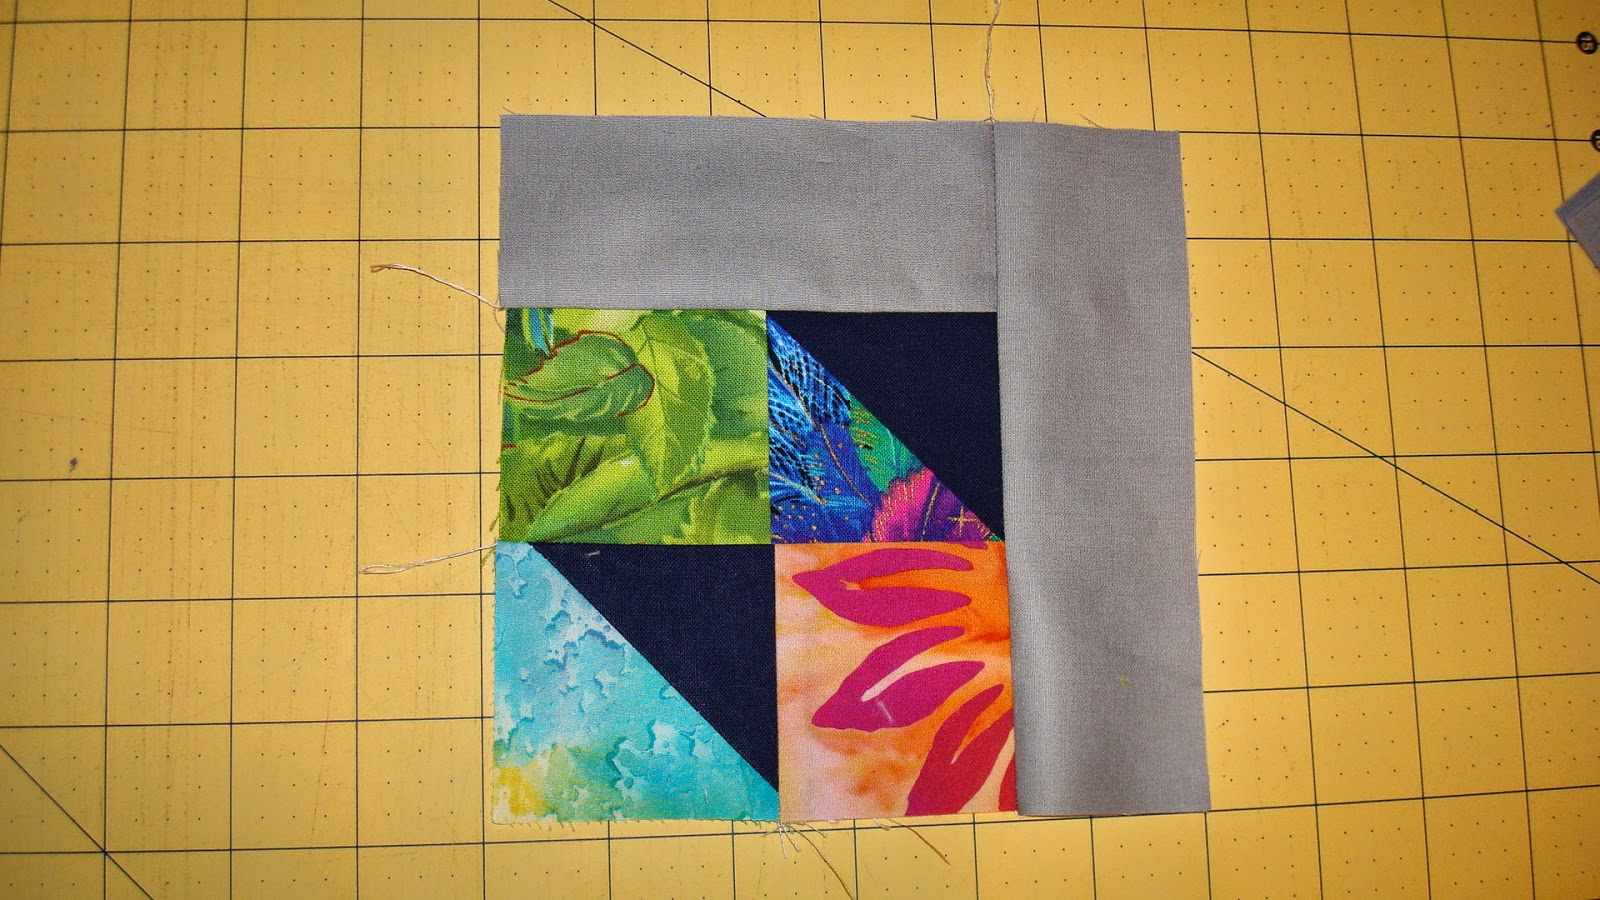
I tried various arrangements and came up with a new way to lay out two chisels with a triangle. 


This was my test piece. It's not pretty, but it was just random fabric that I had (and it doesn't matter if it's pretty if it's just a test). It seemed to work!

Let's try it with my actual fabric pieces that I would use together, I said to myself.


It's not fabulous, but it'll do for a placemat. So I made six of them.


Pretend you haven't noticed that they are just tops and still need to be sandwiched and quilted. It'll get done, eventually. 

However, there are still more scraps...

Thursday, December 11, 2014

Tree skirt

This was made with scraps and stash. I've been wanting a tree skirt for six years, and now I have one.


It was constructed using the ten degree wedge ruler. I simply cut 36 wedges, four each of nine different fabrics, sewed them together, and bound it all in a cute little red/white pinstripe. Easy project. I don't know why I waited so long.

Saturday, October 11, 2014

Friday, September 26, 2014

Lesson one


Craftsy class, lesson one, complete. I'm feeling good about how these turned out.


Tuesday, September 16, 2014

Catch up

Restarted the farmer's wife quilt. This time going to do it in shades of grey. These are the first few blocks. Half square triangles pieced with the Accuquilt Go.

A rag quilt I made out of flannel pajama scraps for my daughter's puppy. I used to make pajamas for my kids when they were little, and still have the scraps from those days. This was cut out with the Accuquilt Go. Easy, fast project, and it ties in with my goal this year of using up my stash. 

One of the pillow's I made for J's mom, out of scraps leftover from a quilt her sister gave her for Christmas last year. This pattern was from a class I took on Craftsy and is called step down piecing. 
 
Pillow number two, again for J's mom, from leftover scraps. These hexies were pieced with a half-hex ruler.

Another class on Craftsy, this is the swoon block. Made from two fat quarters and some background white, all from stash fabric. Large, 24" block. Love it! Will be making more. 

Found a group on Facebook for a modern Farmer's wife that was following a course on Craftsy. Signed up for the pattern and starting following the way she suggests to make blocks, ten different blocks in each lesson, instead of using the templates like I was doing before.
 
Piecing them this way is a much more time efficient method, and seems to be just as accurate, and I don't have to figure anything out for myself, except which fabrics to use. Bottom left on this pic is from the one I made earlier this year, and same block top right is from the course. Equally good. 

I also made a quillow this summer, a non-quilted quilt that folds up into its own pocket to become a pillow, but forgot to take a picture before I gave it away. It was a special request item. I don't do many of those. I usually just sew wherever my heart and mind take me. 

Wednesday, May 28, 2014

Lunch bag and another pillowcase


Look what I threw together in an afternoon with just three fat quarters! A new lunch bag for me(!), with a bottom big enough to hold my plastic containers, so I don't have to put them in on their sides. I sincerely dislike when my food containers leak. 


And it has this handy little drawstring cover on top to hold the contents safely inside and, at the same time, makes the contents discreet. I changed the pattern slightly to accommodate less seams and larger whole fabric pieces, but the design and size are the original.

I can hardly wait for work tomorrow, just so I can pack my lunch. 


And this is the other pillowcase I made, which now surrounds the pillow on the other half of my bed. 

Saturday, May 17, 2014

Receipts and a pillowcase


So, while I'm still on the quest to try and use up my fabric scraps and stash, I have found a way to also use up those pesky receipts I get everywhere.


I have been making paper foundation fabric strips.


 Then I take the strips and run them through my Accuquilt cutter and make signature blocks with them.


 By adding some white triangles, I am now in the process of making another scrap happy quilt top.


 And if I add another solid besides the white, it adds another dimension to it.


 Still a work in progress, so I don't know yet how it will look all together.


Another quick and easy project I found is the magic pillowcase. It uses up about a yard of fabric, so it's a great stash buster for larger pieces, and goes together in about an hour.


 I don't have a serger, so it was important to me that there were no exposed seams. I don't want it to fray. Definitely going to make more of these!


Monday, May 12, 2014

Stash busting tumblers and a runner

Have I mentioned how much I love my Accuquilt


This top only took me three hours to cut out with my tumbler die and throw together. Made with kids prints and scraps from other quilts. It was a great opportunity to use up bright happy pieces in my stash that I was in love with.


I had so much fun, I decided to make a second, more scrappy, tumbler top. I have a feeling this will be my 'go to' die shape now for larger pieces of leftovers and quick quilts. Maybe, I might even preplan one of these in some new and wonderful fabric line out there... Hmmm...


I also managed to construct this lovely runner made of five inch charm squares in a morning. And by construct, I mean sew squares together, put it together with backing and batting, and stitch in the ditch! It was a fast, easy pattern that I saw on youtube from Jenny Doan of Missouri Star Quilt Company. I just love watching her vidoes. She makes everything so easy.


Tuesday, May 6, 2014

No measure Bargello

I watched a video on youtube about making a bargello quilt without measuring and it looked surprisingly easy. I have had a book about bargello quilts for years, but never worked up the courage to work on one, because they seem so time intensive. 

I ordered the pattern and I ordered some fabric. I opted for batiks, in bright colors, as that is what I am attracted to, and it all arrived. Time to put the strips together.... But which way?


For two days, I arranged and rearranged the strips, trying to find a pleasing distribution, all the while wondering why I ordered these fabrics... 


In the end I opted for this layout. Then came the choice for backgrounds. I had enough grey or enough white in my stash, so I decided on the grey, thinking I don't want that pink to bleed into white. 

I followed the directions and watched my quilt top grow.


And then it was done. If I want to make it throw size, I can leave it as is; just quilt and bind. Or I can add borders and make it a bed size. Haven't decided yet which I want.


Saturday, April 26, 2014

Ten fat quarters

I just love how my accuquilt cutter slashes the time required to make blocks. The pieces cut accurately, so they fit together accurately, and piecing is a breeze. Plus, did I mention how much faster it is to cut this way?

I picked eight fat quarters from my stash and added two more from my local quilt shop, for a total of ten. (Did I mention that I'm trying to use up my stash?) I cut them up using the signature die and the coordinating half square triangle.

Then it was just a matter of sewing together the blocks.


 I love how the seams just match perfectly...


And the size of the block is exact, even when sewing on the bias like this one...


 Without borders, just right for a baby quilt at 40x45".  This will definitely be on my "do it again" list.

Wednesday, April 23, 2014

Simpler is better

So, for my One Block Wonder, once I had it all sewn together, the challenge became how to make it look more finished; what kind of border(s) to use. I played around with a few ideas, but in the end, decided less is more and left it at this:


Then I also decided that one of these quilts was enough. Pretty sure I won't get the urge to do another any time soon.

I'm adding this one to my growing pile of tops that I want to quilt myself on a long arm machine. A local company offers classes that teach how to use one (you learn how on a charity quilt), then lets you rent time in their studio to do your own quilting. This is how I will decide if I really want to own a long arm, or if I just think I do.

Saturday, April 19, 2014

Fabric box

Quick and easy project that took less than an hour to put together from stash fabric.


Tutorial available on this other blog if you would like to make your own:

http://seaside-stitches.blogspot.nl/2013/03/fabric-box-tutorial.html

Saturday, April 5, 2014

Work in progress


Tip one: make sure your hexagon block halves are securely pinned together, because when you keep moving them around on your design wall, you often knock others off, and it'd be a shame to put some back up out of alignment and throw off the kaleidoscope design.


Tip two: keep looking at your design wall from different distances and angles, and look through different mediums, like a camera lens or on a phone screen, to find just the right balance of color and contrast. (After a couple days of constant rearrangement, you might want to just decide "good enough")


Tip three: number the top piece in each of your columns before you start taking pieces down to sew, and only take one column down at a time. It'll save headaches later by keeping the pieces in order.


Tip four: admire how it all comes together so beautifully as you actually join the blocks. Press well as you go, and allow for lots for time to do this part... It seems endless... 

Stay tuned.

Wednesday, April 2, 2014

One block wonder

In another effort to use up what I already have, I dug deep in my stash and pulled out lots and lots of this gorgeous fabric:


It's been waiting about eight years to become a stack and whack quilt, but I just haven't wanted to do another one. I made so many of them years ago when the books first came out, and loved everything about them, but I am stacked/whacked out.

I went online to my facebook quilting page, and posted that picture of the fabric. I asked for suggestions for an easy pattern idea that would showcase the beautiful colors. Overwhelmingly, the response was for stack and whack... sigh... But somebody also suggested "one block wonder". 

I had seen these before, and was intrigued, because surely they weren't simple?  I went on you tube and found a perfectly clear and understandable tutorial and made the decision. It was going to be a one block wonder. Let the cutting begin.


99 sets of 6 triangles, to be pieced together to form kaleidoscope hexagons, much like in the fashion of stack and whack (but this isn't stack and whack. It's one block wonder).

Then comes the fun part: trying to arrange them in a pleasing manner. "The blocks just speak to me" she says on the video when describing how easy it is to lay them out. I found this was not the case for me. I am a little bit artistically challenged, so I can maybe see that something somewhere isn't right, but I wouldn't necessarily be able to tell you why.

So, for my first attempt, I tried to blend the colors, or maybe it was transition them. Either way, I didn't like it. 


It looked too "heavy" or something where the red was, and it didn't seem to blend at all, once I backed up far enough to take the picture (it's not as light as it looks, but that's just my camera). 

I appealed to my facebook fellow quilters for help, and got plenty. There were a few that liked it how it was, but the most common opinion was to back up and judge each block by only one color... 

So I tried again, also attempting to more evenly distribute the reds.

 I like this layout much better, but have tweaked a few blocks since taking this picture. I think I'll let it hang for a day or two, and see what I think over time. 


Tuesday, April 1, 2014

Scrap quilting


You might remember from an earlier post that I used my Accuquilt Go to cut up the smallest pieces I had in my scrap drawer.  I randomly pieced them together into blocks, not caring what color they were or if they matched. I just sewed. Then I put the blocks up on the wall and had a look:


Wow! That's a little too busy to me and my eyes. I had some leftover gray from the last top I put together, so used it to sash the blocks on two sides. 


Then I arranged them in a way that I didn't have to match up seam lines, except for along rows, and went to town, putting them together.


Ahh... That's better. Still bright and busy, but not overwhelming. I opted to leave out the larger 4" blocks, for now, although I may still incorporate them into a border. I don't think this one is finished yet...